

- Finance Solutions
-
- Resources
-
-
What’s new?
-
-
- Support
-
-
What’s new?
-
-
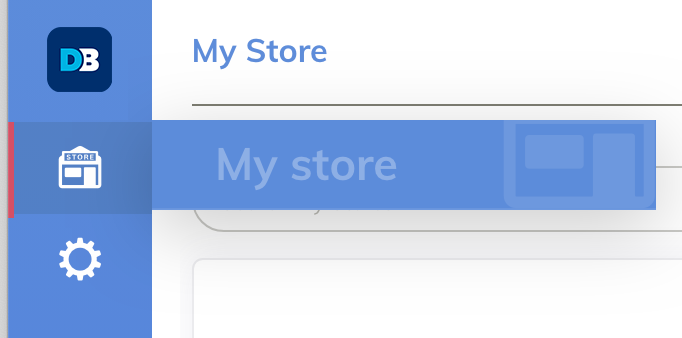
Step 1 – Select the “My Store” tab in the menu on the left-hand side of the screen:
Step 2 – Select “Custom Order” next to your store name:

The following screen will appear:
Step 3 – Enter the customers’ details within the fields provided.

Step 4 – Click “Add New Product”
Step 5 – Enter the product name, SKU, product price, quantity and choose the VAT option.
Click the update icon 
All the fields must be completed before an order can be saved.
If a SKU is not available this field can be used for a reference number. The SKU will be displayed within your usual eCommerce platform.
When a custom order product name is added to the Retailer Portal, the entered SK will be remembered. So, when you come to add the same product in future the SKU will be auto populated.
Multiple products can be added to a custom order by pressing the “Add New Product” button. Pressing this button saves the details for the first product and adds another line for you to enter the next products’ details.
You can edit the saved products by selecting the pencil icon. 
Step 6 – Updating subtotal, tax, discount and grand total.
This information can be updated by selecting the “Refresh” button.
You may wish to enter a discount. This can easily be done by entering a percentage amount within the “Discount” field and then select “Refresh” button.

The percentage will be converted into £GBP and the tax and grand total amounts will be automatically calculated and updated.

Step 7 – Once you’re happy and the details of the order are correct, hit “Save.”
Step 8 – The following pop-up will appear, where you must enter the customer’s postcode:
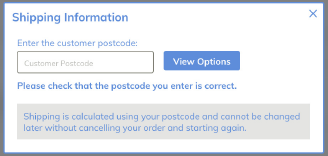
The customer’s postcode must be the billing address of the payment card they wish to use.
This will also be used as the customers shipping address.
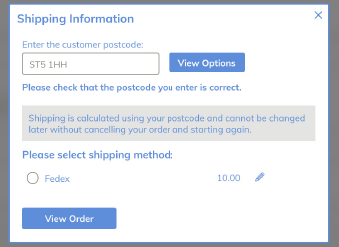
Step 9 – Once the postcode has been entered, select “View Options.” This will display the shipping options for your store. Shipping options are pulled straight from your “Store Settings” within the Retailer portal.
Step 10 – Choose the appropriate shipping method and click “View Order.”
Once the checkout button has been selected, the custom order will be displayed as shown below:
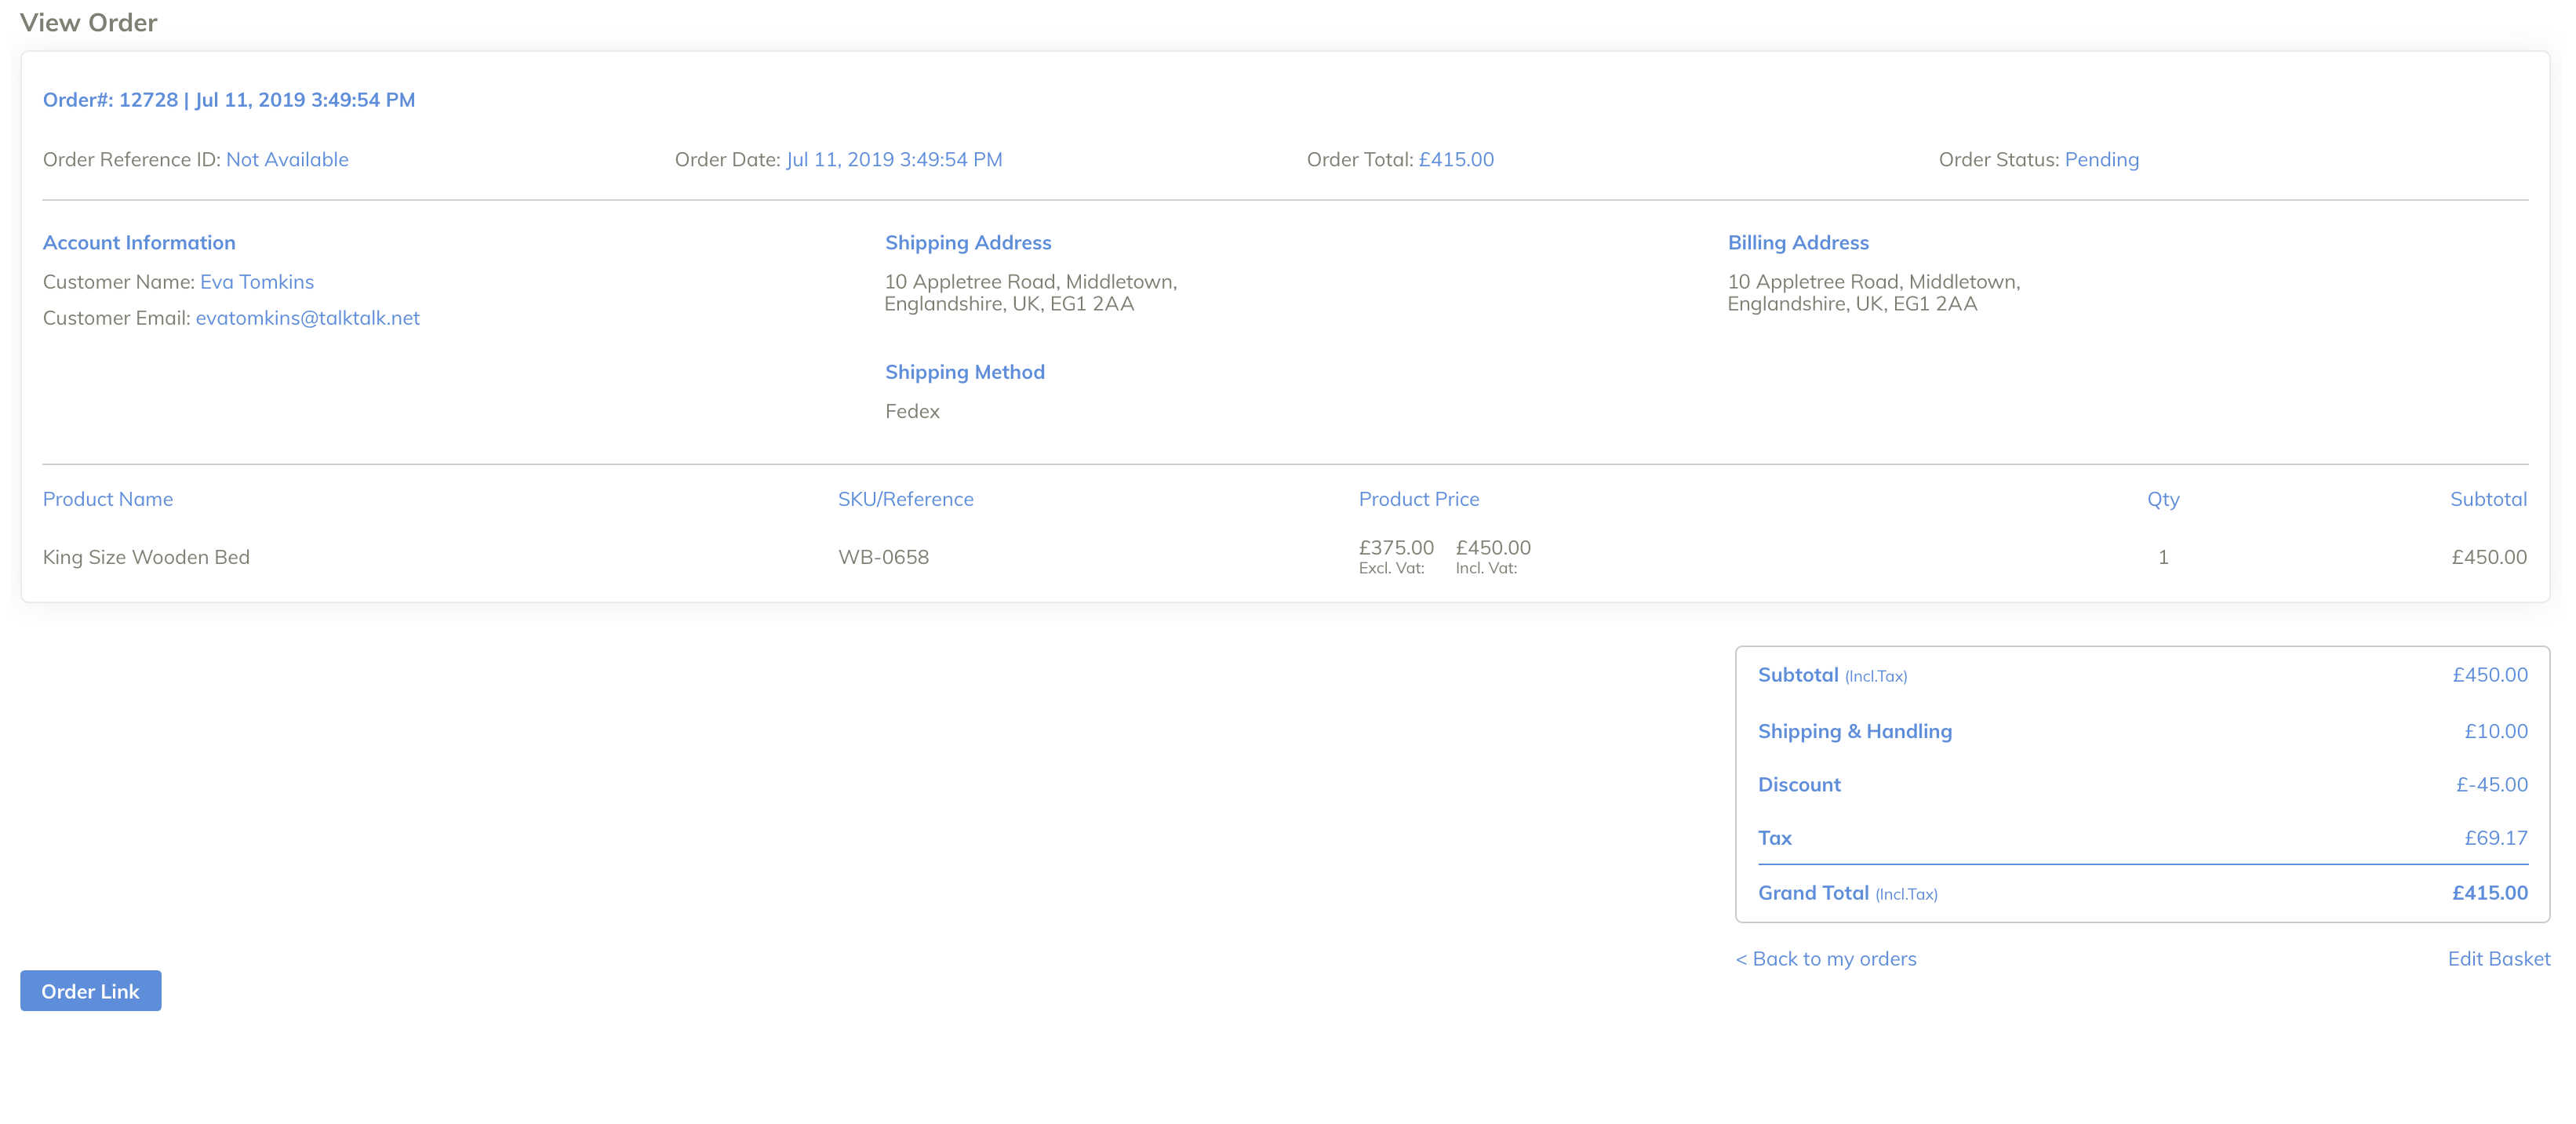
Step 11 – Once you have reviewed the details and are happy that all the details of the customer, order, shipping and any discounts are correct, click the “Order Link” The will send the order you’ve created to the customers’ email that was inputted for the order.
Alternatively, you can choose to edit the order by clicking the “Edit Basket” button.
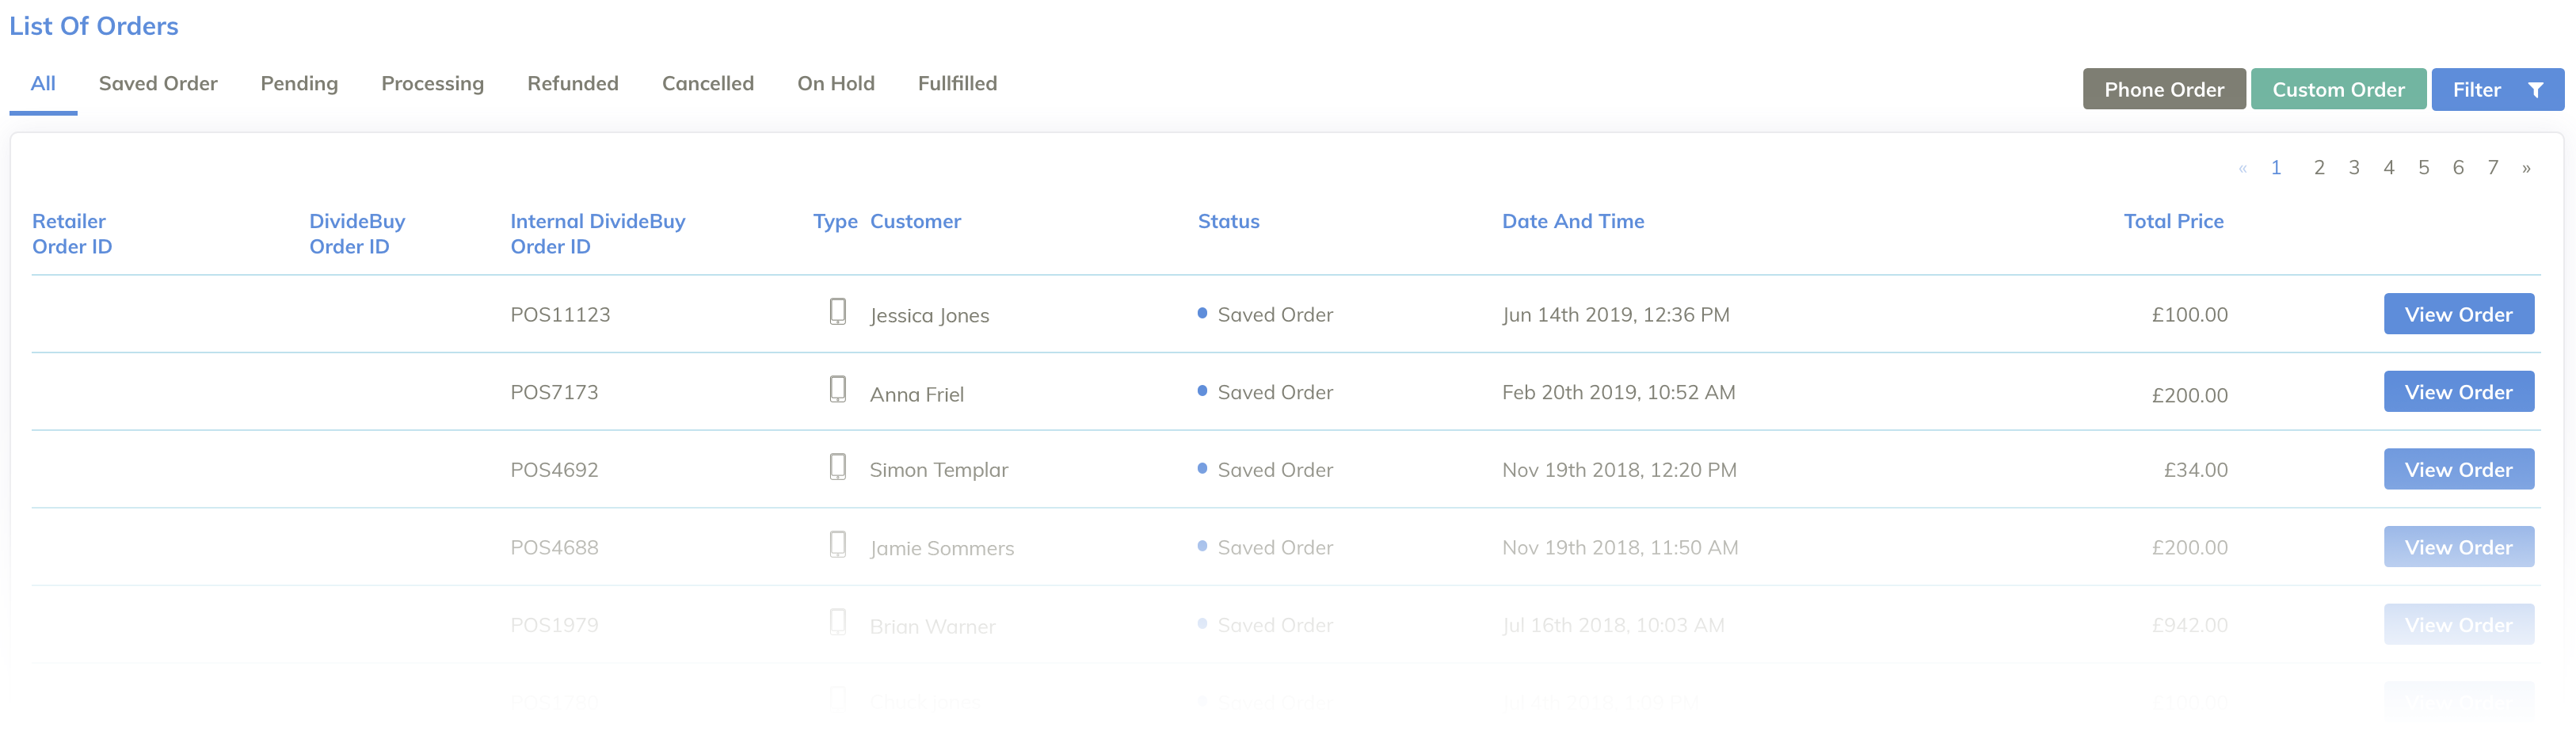
Once you’ve chosen to send the “Order Link” you’ll be redirected to a list of orders created within your Retailer Portal:
Step 12 – The customer will receive the following email:
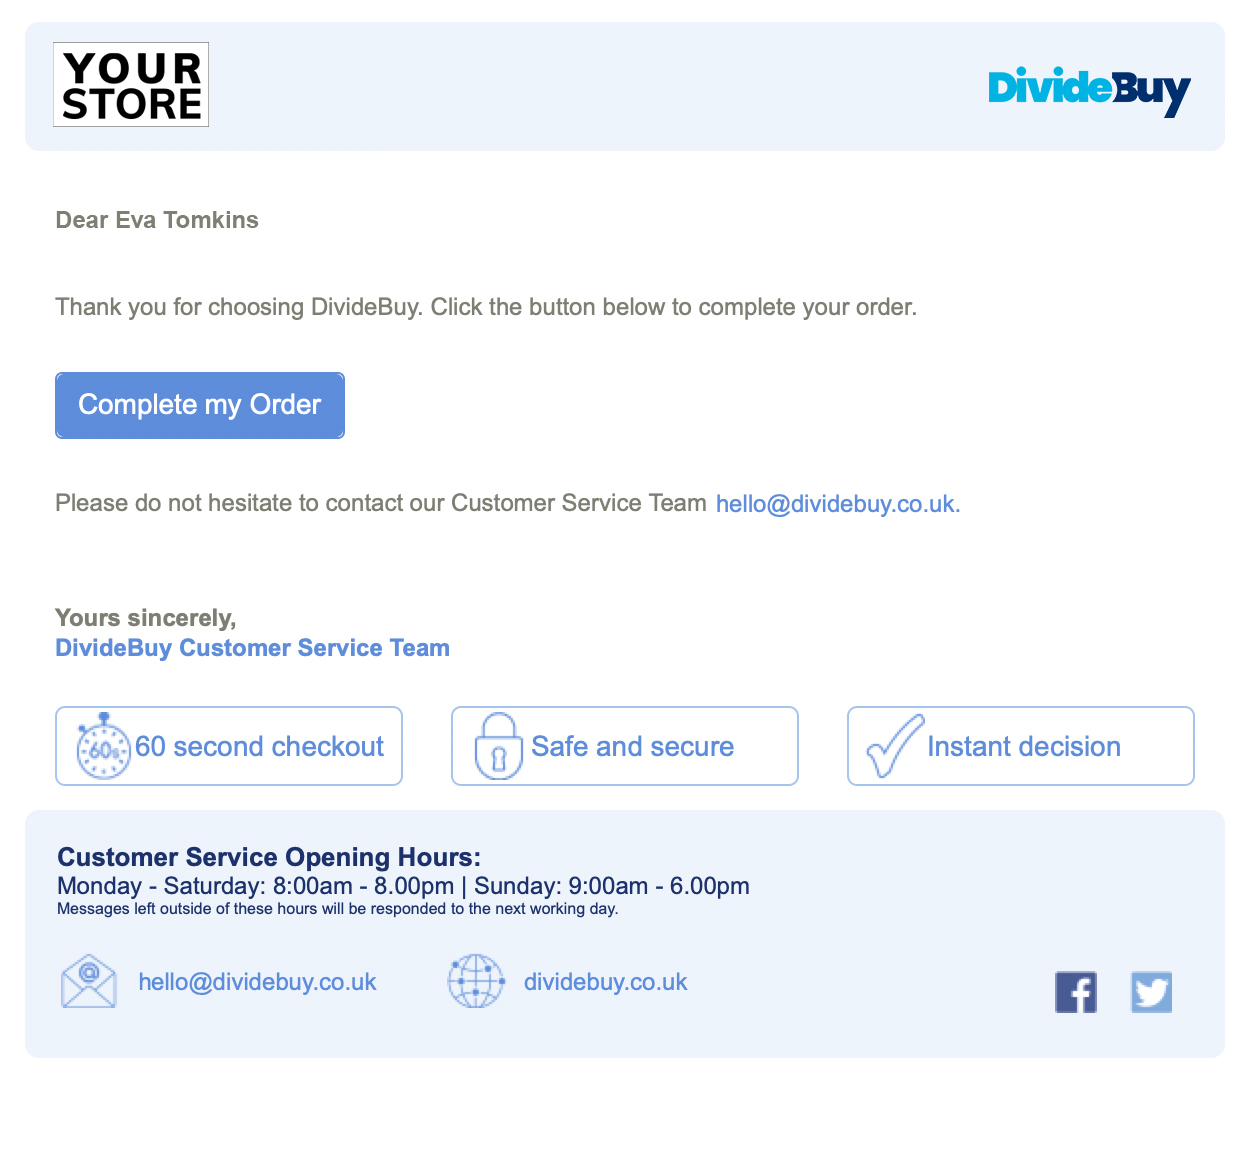
To complete their order, the customer will need to click ‘Complete my Order’ and they’ll then be redirected to the DivideBuy checkout where they can complete our credit application.